
はじめに
以前opencv-pythonで同じことをしました。touch-sp.hatenablog.com
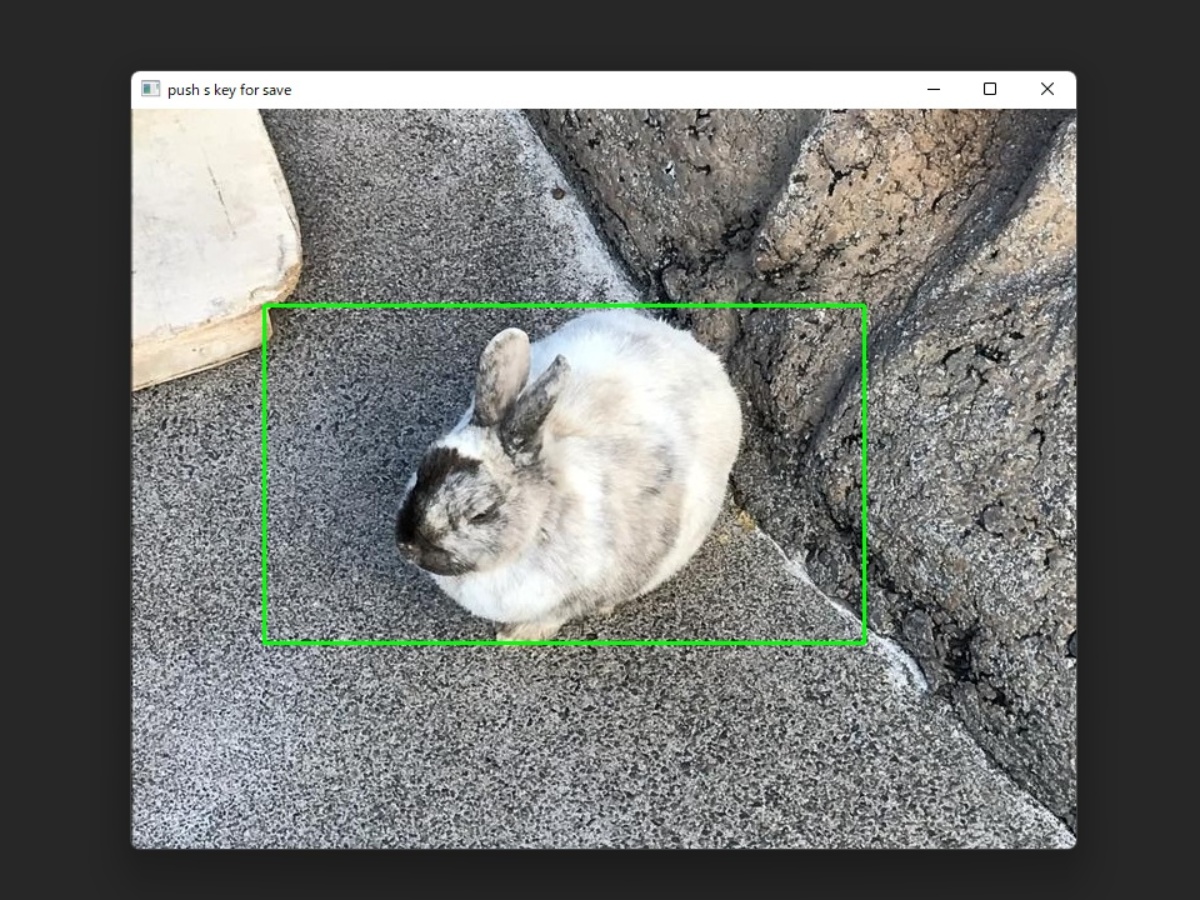
今回はPyQt6でGUIまわりを強化しました。
といっても、PyQt6から新しいスレッドを立ち上げて前回書いたopencv-pythonのスクリプトを実行しているだけです。
そのためウインドウは二つになります。
Pythonスクリプト
from PyQt6.QtCore import pyqtSlot, Qt, QThread
from PyQt6.QtWidgets import QMainWindow, QWidget, QApplication, QVBoxLayout, QFileDialog, QHBoxLayout, QLineEdit
from PyQt6.QtGui import QImage, QPixmap
import cv2
import os

from qtyaml import PushButton, Label, ToggleButton

class CVThread(QThread):

    def __init__(self, image, width, height):
        super().__init__()
        self.active = True
        self.drawing = False
        self.ix = 30
        self.iy = 30
        self.width_diff = 0
        self.height_diff = 0
        self.image = image
        self.width = width
        self.height = height

    def run(self):

        temp = self.image.copy()

        source_window = "push s key for save"
        cv2.namedWindow(source_window)
        cv2.setMouseCallback(source_window, self.my_mouse_callback)

        while self.active:
            cv2.imshow(source_window, temp)
            cv2.rectangle(temp, (self.ix, self.iy), (self.ix + self.width, self.iy + self.height), (0,255,0), 2)  # 矩形を描画

            if(self.drawing):              # 左クリック押されてたら
                temp = self.image.copy()   # 画像コピー
                cv2.rectangle(temp, (self.ix, self.iy), (self.ix + self.width, self.iy + self.height), (0,255,0), 2)  # 矩形を描画

            # キー操作
            k = cv2.waitKey(1) & 0xFF
            if k == ord('s') and not self.drawing:

                img_height, img_width = self.image.shape[0:2]

                if (self.ix >=0 and self.ix + self.width <= img_width) and (self.iy >= 0 and self.iy + self.height <= img_height):
                    result = self.image[self.iy:self.iy + self.height, self.ix:self.ix + self.width, :]

                    file_index = 1
                    while True:
                        if os.path.isfile('result_%d.jpg'%file_index):
                            file_index += 1
                        else:
                            break

                cv2.imwrite('result_%d.jpg'%file_index, result)

        cv2.destroyAllWindows()

    def stop(self):
        self.active = False
        self.wait()

    def my_mouse_callback(self, event, x, y, flags,param):

        match event:
            case cv2.EVENT_MOUSEMOVE:      # マウスが動いた時
                if(self.drawing == True):
                    self.ix = x - self.width_diff
                    self.iy = y - self.height_diff

            case cv2.EVENT_LBUTTONDOWN:  # マウス左押された時
                if (self.ix < x < self.ix + self.width) and (self.iy < y < self.iy + self.height):
                    self.width_diff = x - self.ix
                    self.height_diff = y - self.iy
                    self.drawing = True

            case cv2.EVENT_LBUTTONUP:    # マウス左離された時
                self.drawing = False

class Window(QMainWindow):

    def __init__(self):
        super().__init__()
        self.selected_image = None
        self.width = 200
        self.height =200
        self.initUI()

    def initUI(self):
        self.setWindowTitle("Trimming Image")

        # header
        self.header = QHBoxLayout()

        self.button1 = PushButton('settings.yml', 'button')
        self.button1.clicked.connect(self.showDialog1)

        self.toggle = ToggleButton(height=50)
        self.toggle.clicked.connect(self.toggle_clicked)
        self.toggle.setEnabled(False)

        self.width_label = Label('settings.yml', 'width_label')
        self.height_label = Label('settings.yml', 'height_label')

        self.width_edit = QLineEdit()
        self.height_edit = QLineEdit()

        self.header.addWidget(self.button1)
        self.header.addWidget(self.width_label)
        self.header.addWidget(self.width_edit)
        self.header.addWidget(self.height_label)
        self.header.addWidget(self.height_edit)
        self.header.addWidget(self.toggle)

        # body
        self.bodylayout = QHBoxLayout()
        self.img_label1 = Label('settings.yml', 'img_label')
        self.bodylayout.addWidget(self.img_label1)

        # main-layout
        self.layout = QVBoxLayout()

        self.layout.addLayout(self.header)
        self.layout.addLayout(self.bodylayout)

        mainwidget = QWidget()
        mainwidget.setLayout(self.layout)

        self.setCentralWidget(mainwidget)

    def showDialog1(self):

        fname = QFileDialog.getOpenFileName(self, 'Open file')

        # fname[0]は選択したファイルのパス(ファイル名を含む)
        if fname[0]:

            self.toggle.setEnabled(True)

            self.selected_image = cv2.imread(fname[0])
            height ,width = self.selected_image.shape[0:2]
            self.setWindowTitle(f'width: {width}   height: {height}')

            # 画像の読み込み, サイズ変更
            image = QImage(fname[0]).scaled(self.img_label1.size(), Qt.AspectRatioMode.KeepAspectRatio)
            # 画像の表示
            self.img_label1.setPixmap(QPixmap.fromImage(image))

    @pyqtSlot(bool)
    def toggle_clicked(self, on_off):
        match on_off:
            case True:
                self.width = int(self.width_edit.text()) if self.width_edit.text().isdigit() else 200
                self.height = int(self.height_edit.text()) if self.width_edit.text().isdigit() else 200

                self.button1.setEnabled(False)
                self.width_edit.setEnabled(False)
                self.height_edit.setEnabled(False)

                self.thread = CVThread(self.selected_image, self.width, self.height)
                self.thread.run()
            case False:
                self.thread.stop()

                self.button1.setEnabled(True)
                self.width_edit.setEnabled(True)
                self.height_edit.setEnabled(True)

if __name__ == "__main__":
    app = QApplication([])
    ex =Window()
    ex.show()
    app.exec()
YAMLファイル
QWidgetの設定をYAMLファイルに書いています。width_label: width: 100 height: 40 alignment: center fontFamily: times fontPoint: 16 text: "width" height_label: width: 100 height: 40 alignment: center fontFamily: times fontPoint: 16 text: "height" button: width: 120 height: 40 fontFamily: times fontPoint: 14 fontBold: False text: "Open Image" img_label: width: 640 height: 360 alignment: center
YAMLファイルを読み込むためには「qtyaml.py」というファイルが必要です。
これは以前自分が作成したものです。こちらの中にはカスタマイズしたトグルボタンも含まれます。
あらかじめダウンロードして下さい。(GitHubで公開しています)
以下のスクリプトでダウンロードできます。
import os
from urllib.request import urlretrieve
url = 'https://raw.githubusercontent.com/dai-ichiro/pyqt6_yaml/main/qtyaml.py'
fname = os.path.basename(url)
if not os.path.isfile(fname):
    urlretrieve(url, fname)
動作環境
Windows 11
Python 3.10.4
numpy==1.22.3
opencv-python==4.5.5.64
PyQt6==6.3.0
PyQt6-Qt6==6.3.0
PyQt6-sip==13.3.1
PyYAML==6.0
注意
名前に日本語が含まれる画像ファイルを開こうとするとエラーがでることがわかりました。追記
PySide6用はこちら。touch-sp.hatenablog.com