公開日:2022年7月22日
最終更新日:2022年9月11日
はじめに
複数の画像から指定した文字列にマッチする画像を抽出します。OpenAIのCLIP(Contrastive Language-Image Pre-Training)を使うと簡単にできます。そしてそのCLIPはAWS Labsが公開しているAutoGluonというPythonライブラリから簡単に使用できます。しかもAutoGluonはpipで簡単にインストール可能です。何回「簡単」という単語がでてくることか(笑)CLIPについて
おおざっぱにCLIPを説明するとこのような感じです。画像とその画像に対する説明文をペアとしてそれぞれをベクトル化します。画像から作成したベクトルと説明文から作成したベクトルが近くなるように学習したのがCLIPです。つまりCLIPは学習済みモデルです。
方法の概略
上記の説明で分かるようにCLIPには画像をベクトル化するモデルとテキストをベクトル化するモデルの二つが含まれます。あらかじめ複数の画像をすべてベクトル化します。(作成されたベクトルを画像ベクトルとします。英語ではimage_embeddingsと表現されます。)次に検索テキストをベクトル化します。
(作成されたベクトルをテキストベクトルとします。英語ではtext_embeddingsと表現されます。)すべての画像ベクトルに対してテキストベクトルとの類似度(コサイン類似度を用います)を計算します。計算された類似度をもとに画像を抽出します。
データの準備
今回はKaggleの「Dogs vs Cats | Kaggle」からデータを使わせて頂きました。テストデータだけを使ったのですが、それでも12500枚の画像があるのでそのうちの300枚だけにしています。
Pythonスクリプト
画像のベクトル化
テスト画像が入ったフォルダの名前を「images」に変更しています。GPUを使ってくれるのですが同時にベクトル化できる画像の枚数はVRAMに依存しています。今回6GBのVRAMを搭載したRTX 3060 Laptopを使用したのですが同時に処理できるのは5枚が限度でした。そのため「batch=5」として処理を繰り返しています。version ≦0.5.2
import os
import numpy as np

from autogluon.multimodal import MultiModalPredictor
predictor = MultiModalPredictor(hyperparameters={"model.names": ["clip"]}, problem_type="zero_shot")

image_paths = [os.path.join('images', f'{x}.jpg') for x in range(1, 301)]

image_count = len(image_paths)
batch = 5
loop_count = (image_count - 1) // batch + 1

image_embeddings_list = []
for i in range(loop_count):
    first_index = i * batch
    last_index = first_index + batch if (first_index + batch) < (image_count) else image_count
    temp_embeddings = predictor.extract_embedding({"image": image_paths[first_index:last_index]})['image']
    image_embeddings_list.append(temp_embeddings)

image_features = np.concatenate(image_embeddings_list, axis=0)

np.savez_compressed('imageData', image_paths = np.array(image_paths), image_features =image_features)
version >0.5.2
import os
import numpy as np

from autogluon.multimodal import MultiModalPredictor
predictor = MultiModalPredictor(pipeline="zero_shot_image_classification")

image_paths = [os.path.join('images', f'{x}.jpg') for x in range(1, 301)]

image_count = len(image_paths)
batch = 5
loop_count = (image_count - 1) // batch + 1

image_embeddings_list = []
for i in range(loop_count):
    first_index = i * batch
    last_index = first_index + batch if (first_index + batch) < (image_count) else image_count
    temp_embeddings = predictor.extract_embedding({"image": image_paths[first_index:last_index]})['image']
    image_embeddings_list.append(temp_embeddings)

image_features = np.concatenate(image_embeddings_list, axis=0)

np.savez_compressed('imageData', image_paths = np.array(image_paths), image_features =image_features)
何度も計算するのは時間がかかるのでnumpyのsavez_compressedでいったん保存しました。
(補足)VRAM 8GBのGTX 1080を使用すると「batch=16」でも実行可能でした。
テキストのベクトル化と類似度の計算
検索テキストは「dog on the lawn」(芝生の上にいる犬)としています。version ≦0.5.2
import numpy as np

from autogluon.multimodal import MultiModalPredictor
predictor = MultiModalPredictor(hyperparameters={"model.names": ["clip"]}, problem_type="zero_shot")

text_embeddings = predictor.extract_embedding({"text": ['dog on the lawn']})
text_features = text_embeddings['text']

npz = np.load('imageData.npz')
image_paths = npz['image_paths']
image_features = npz['image_features']

similarity = np.matmul(image_features, text_features.T)

print('\n'.join(list(image_paths[similarity.squeeze() > 0.2])))
version >0.5.2
import numpy as np

from autogluon.multimodal import MultiModalPredictor
predictor = MultiModalPredictor(pipeline="zero_shot_image_classification")

text_embeddings = predictor.extract_embedding({"text": ['dog on the lawn']})
text_features = text_embeddings['text']

npz = np.load('imageData.npz')
image_paths = npz['image_paths']
image_features = npz['image_features']

similarity = np.matmul(image_features, text_features.T)

print('\n'.join(list(image_paths[similarity.squeeze() > 0.2])))
結果
このような結果が出力されます。images/4.jpg images/39.jpg images/109.jpg images/276.jpg
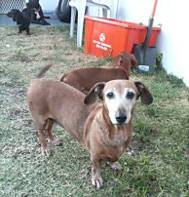
実際に見てみましょう。
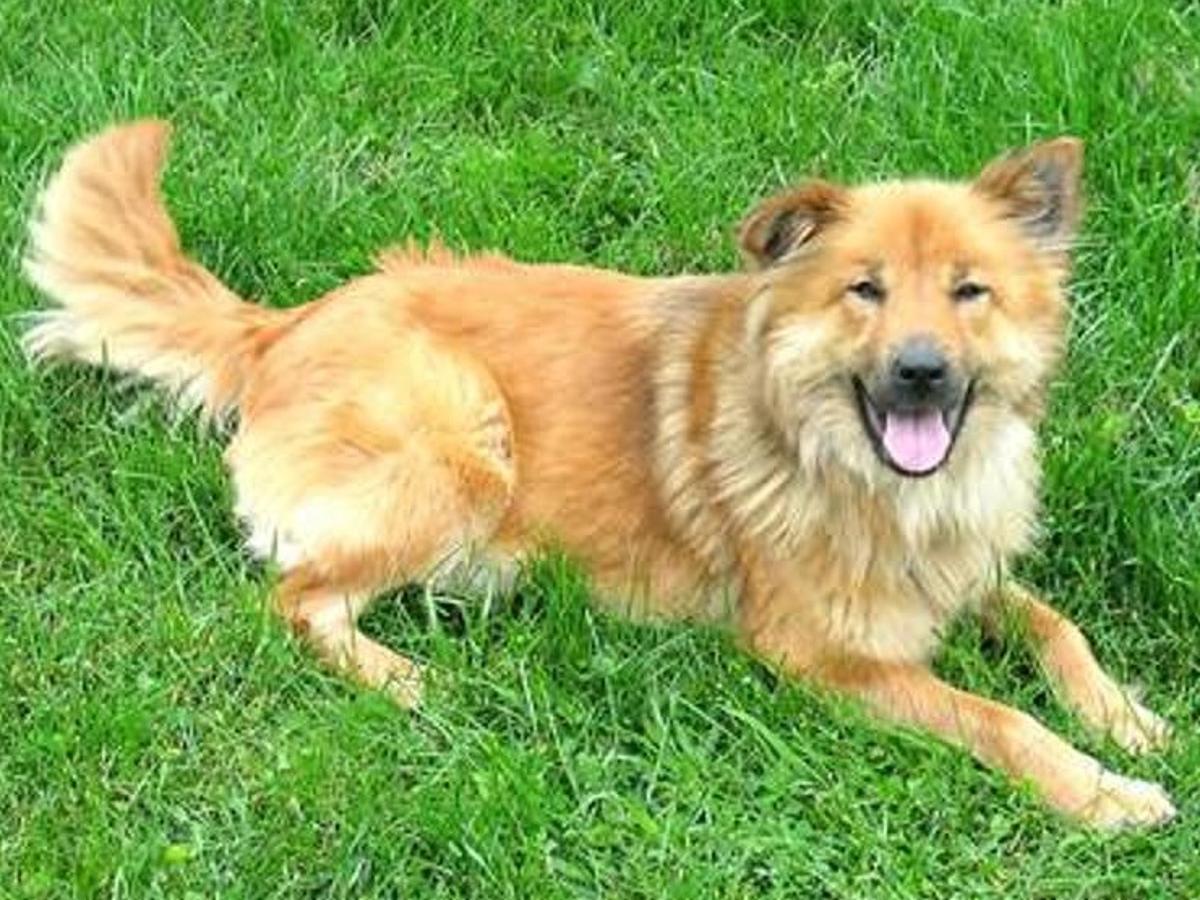
おおむね良さそうです。
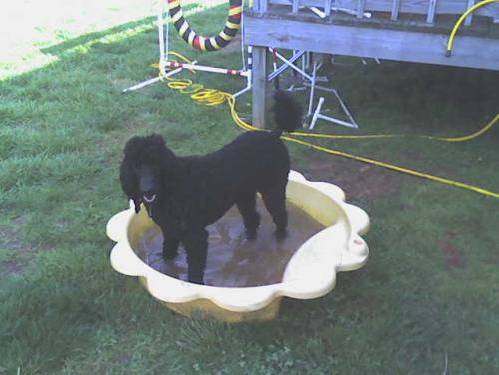
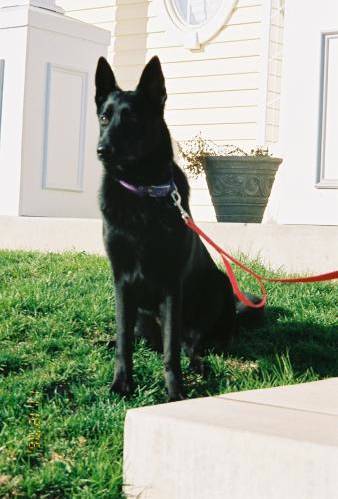
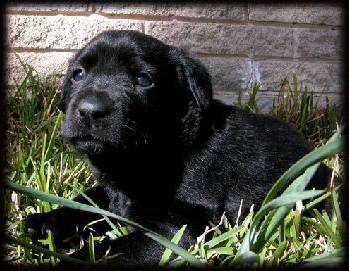
ただし、下記のような画像は検索からもれました。
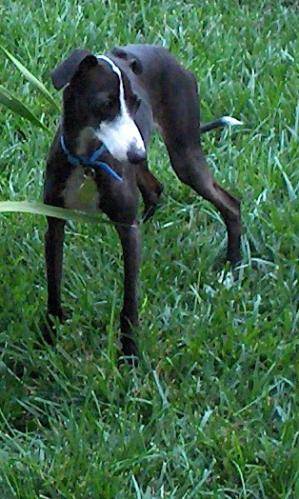
今回閾値は0.2としました。
検索からもれた画像もそれなりに類似度が高いので閾値を変更することで何とかなりそうです。
動作環境
Ubuntu 20.04 on WSL2
CUDA 11.6.2
Python 3.9.5
AutoGluonがPython3.10をサポートしていないのでこの組み合わせになっています。
インストールしたのはPyTorchとAutoGluonのみです。