はじめに
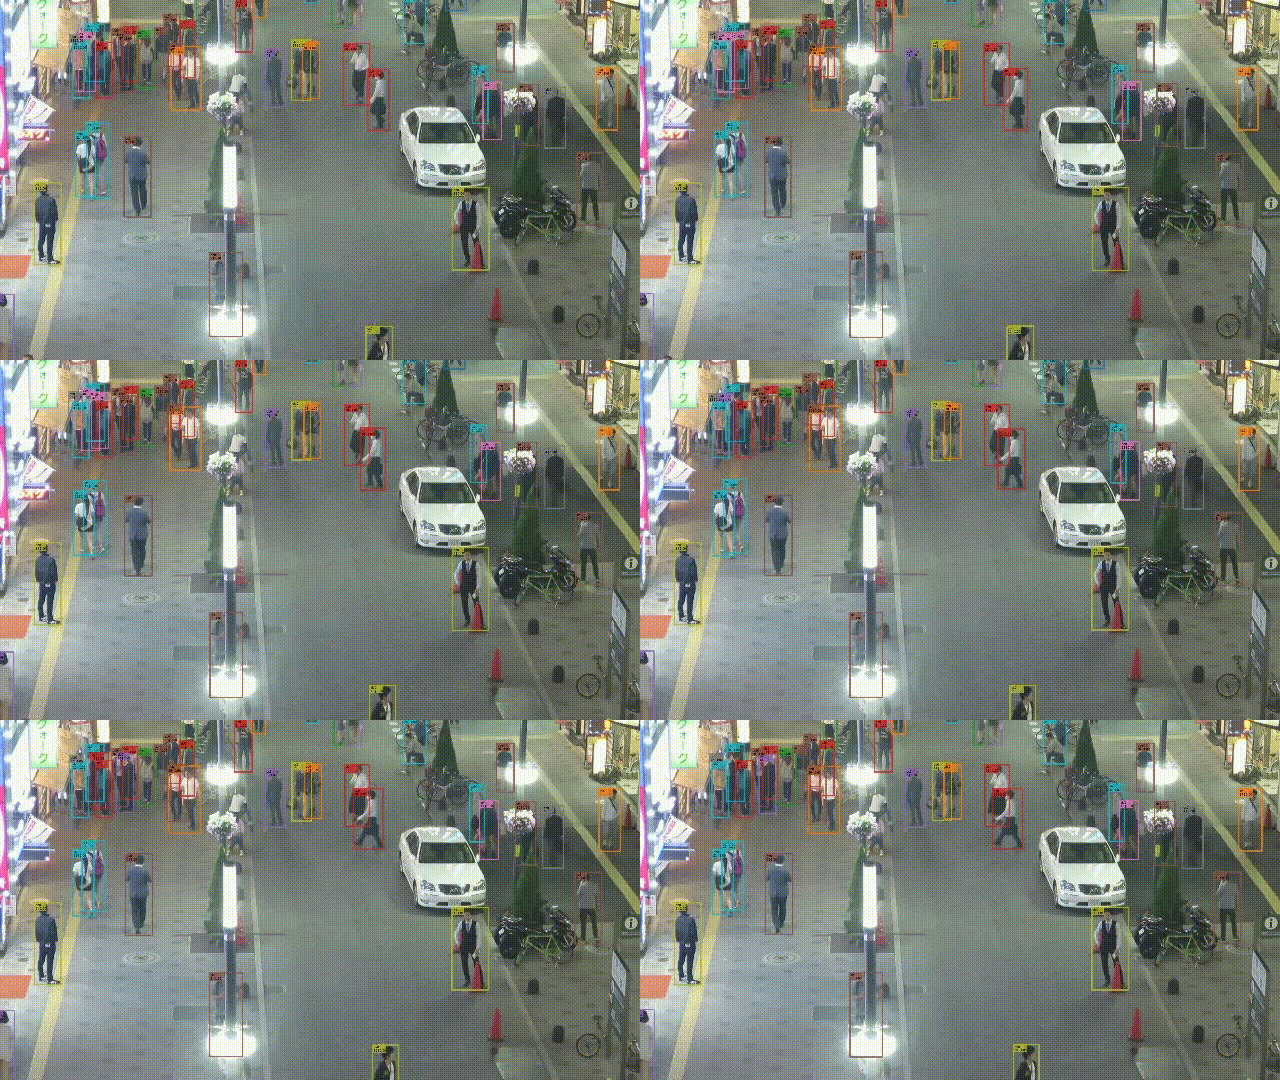
タイトル通りです。今回はMMDetectionでMultiple Object Tracking(MOT)を実行するまでの手順を記録しておきます。環境
Ubuntu 22.04 on WSL2
Python 3.10
CUDA 11.8
pip install torch==2.0.1+cu118 torchvision==0.15.2+cu118 --index-url https://download.pytorch.org/whl/cu118
pip install openmim==0.3.9
mim install mmcv==2.0.1
mim install mmdet[tracking]==3.1.0
実行
リポジトリのクローン
git clone https://github.com/open-mmlab/mmdetection
cd mmdetection
「mot_demo.py」の実行
使用するモデルによって実行方法が異なるようです。For DeepSORT, SORT, StrongSORT, they need load the weight of the reid and the weight of the detector separately. Therefore, we use --detector and --reid to load weights. Other algorithms such as ByteTrack, OCSORT QDTrack MaskTrackRCNN and Mask2Former use --checkpoint to load weights.
SORT
python demo/mot_demo.py \
    demo/demo_mot.mp4 \
    configs/sort/sort_faster-rcnn_r50_fpn_8xb2-4e_mot17halftrain_test-mot17halfval.py \
    --detector https://download.openmmlab.com/mmtracking/mot/faster_rcnn/faster-rcnn_r50_fpn_4e_mot17-half-64ee2ed4.pth \
    --out mot.mp4
QDTrack
python demo/mot_demo.py \
    demo/demo_mot.mp4 \
    configs/qdtrack/qdtrack_faster-rcnn_r50_fpn_8xb2-4e_mot17halftrain_test-mot17halfval.py \
    --checkpoint https://download.openmmlab.com/mmtracking/mot/qdtrack/mot_dataset/qdtrack_faster-rcnn_r50_fpn_4e_mot17_20220315_145635-76f295ef.pth \
    --out mot2.mp4