はじめに
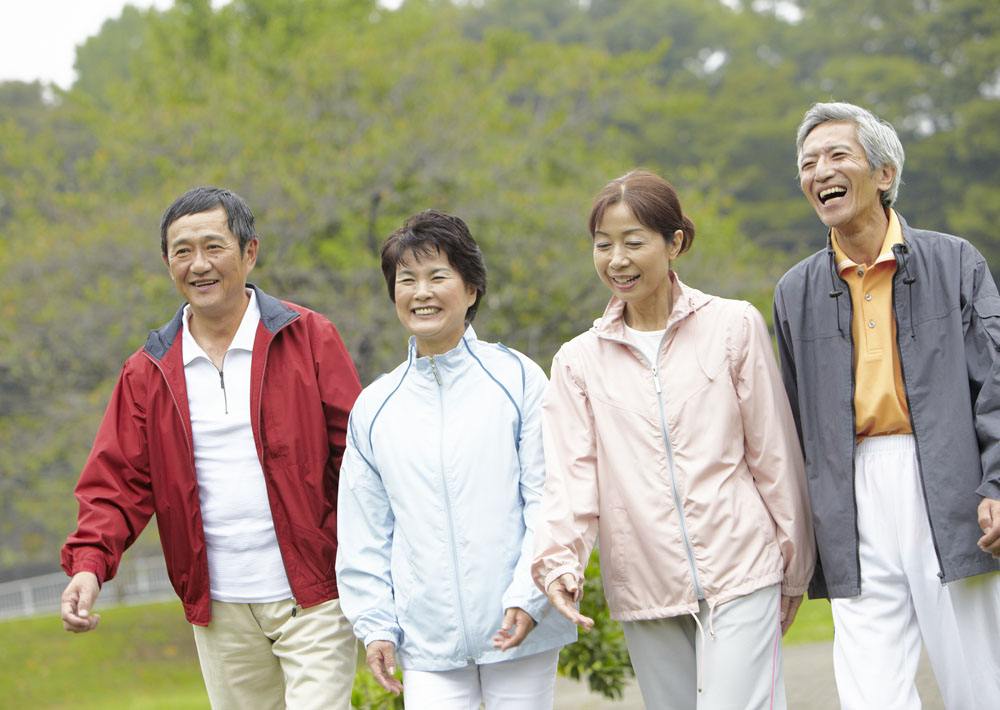
Pythonを使って写真に写る顔を切り取る方法を二つ紹介します。元画像

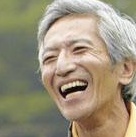
こちらの画像を使わせて頂きました。
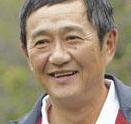
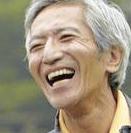
【face-alignment】を使う方法
結果


PC環境
Windows 11
CUDA 11.8
Python 3.11
Python環境構築
pip install torch==2.1.2+cu118 --index-url https://download.pytorch.org/whl/cu118
pip install face-alignment
Pythonスクリプト
import face_alignment
from skimage import io
import numpy as np
from PIL import Image

image_path = "all.jpg"

fa = face_alignment.FaceAlignment(face_alignment.LandmarksType.TWO_D, flip_input=False)
input = io.imread(image_path)
preds = fa.get_landmarks(input)

image = Image.open(image_path)
width, height = image.size

margin=25

for i, pred in enumerate(preds):
    left = max(0, int(np.min(preds[i][:, 0])) - margin)
    right = min(width, int(np.max(preds[i][:, 0])) + margin)
    top = max(0, int(np.min(preds[i][:, 1])) - margin)
    bottom = min(height, int(np.max(preds[i][:, 1])) + margin)

    face_image = image.crop((left, top, right, bottom))

    face_image.save(f"face{i}.jpg")
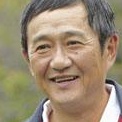
【dlib】を使う方法
こちらの方法はGPU不要です。結果


PC環境
Windows 11
Python 3.11
Python環境構築
pip install dlib
pip install opencv-python
Pythonスクリプト
import cv2
import dlib

image_path = "all.jpg"

image = cv2.imread(image_path)
height, width = image.shape[0:2]

detector = dlib.get_frontal_face_detector()
faces = detector(image)

margin=25

for i, face in enumerate(faces):
    left = max(0, face.left() - margin)
    right = min(width, face.right() + margin)
    top = max(0, face.top() - margin)
    bottom = min(height, face.bottom() + margin)

    face_image = image[top:bottom, left:right, :]
    cv2.imwrite(f"face{i}.jpg", face_image)