使用したのはこちらです。二つ用意しています。
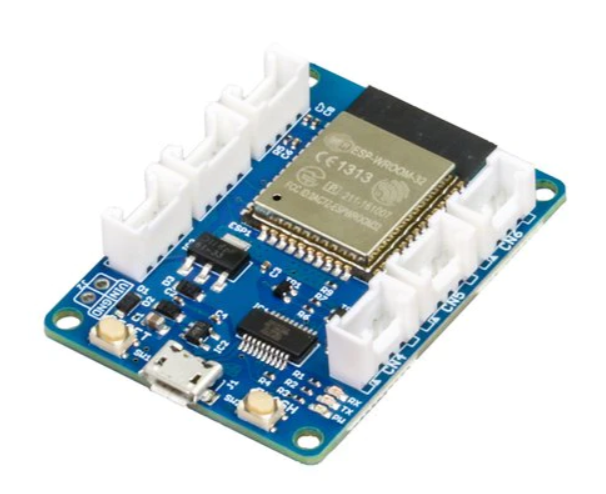
ESPr® Branch 32(Groveコネクタ付き)www.switch-science.com
BluetoothのMACアドレスを取得する
一つのESPに以下を書き込み実行します。今後こちらがスレイブ側になります。void setup(void) { Serial.begin(115200); uint8_t macBT[6]; esp_read_mac(macBT, ESP_MAC_BT); Serial.printf("%02X:%02X:%02X:%02X:%02X:%02X\r\n", macBT[0], macBT[1], macBT[2], macBT[3], macBT[4], macBT[5]); } void loop() {}
シリアルモニタにこのように出力されました。
21:51:48.559 -> ets Jun  8 2016 00:22:57
21:51:48.592 ->
21:51:48.592 -> rst:0x1 (POWERON_RESET),boot:0x13 (SPI_FAST_FLASH_BOOT)
21:51:48.592 -> configsip: 0, SPIWP:0xee
21:51:48.592 -> clk_drv:0x00,q_drv:0x00,d_drv:0x00,cs0_drv:0x00,hd_drv:0x00,wp_drv:0x00
21:51:48.592 -> mode:DIO, clock div:1
21:51:48.592 -> load:0x3fff0030,len:1344
21:51:48.592 -> load:0x40078000,len:13964
21:51:48.592 -> load:0x40080400,len:3600
21:51:48.592 -> entry 0x400805f0
21:51:48.713 -> 7C:9E:BD:EA:3D:DA
最終行の「7C:9E:BD:EA:3D:DA」がMACアドレスです。
スレイブ側のBluetoothを開始
#include "BluetoothSerial.h"
#include "Adafruit_NeoPixel.h"

const int buttonON = LOW;    // ボタンが押されているとピンの値はLOW
const int buttonPin1 = 26;
const int LED_button = 15;

BluetoothSerial SerialBT;
Adafruit_NeoPixel led_button = Adafruit_NeoPixel(1, LED_button, NEO_GRB + NEO_KHZ800);

void setup() {
  Serial.begin(115200);
  SerialBT.begin("bluetooth", false); // isMaster=false

  pinMode(buttonPin1, INPUT_PULLUP);
  led_button.begin();

  delay(200);
}

void loop() {
  if (digitalRead(buttonPin1) == buttonON) {
    led_button.setPixelColor(0, led_button.Color(0, 100, 0));
    led_button.show();
    SerialBT.write('T');
    delay(200);
    led_button.setPixelColor(0, led_button.Color(0, 0, 0));
    led_button.show();
    while (digitalRead(buttonPin1) == buttonON);
    delay(200);
  }
}
マスター側のBluetoothを開始
Bluetoothの接続を開始するのが「マスター」です。#include "BluetoothSerial.h" #include "Adafruit_NeoPixel.h" const int buttonON = LOW; // ボタンが押されているとピンの値はLOW const int buttonPin1 = 26; const int LED_button = 15; BluetoothSerial SerialBT; Adafruit_NeoPixel led_button = Adafruit_NeoPixel(1, LED_button, NEO_GRB + NEO_KHZ800); String MACadd = "7C:9E:BD:EA:3D:DA"; uint8_t address[6] = {0x7C, 0x9E, 0xBD, 0xEA, 0x3D, 0xDA}; void setup() { Serial.begin(115200); SerialBT.begin("bluetooth", true); // isMaster=true SerialBT.connect(address); pinMode(buttonPin1, INPUT_PULLUP); led_button.begin(); } void loop() { if (SerialBT.available()) { if (SerialBT.read() == 'T') { led_button.setPixelColor(0, led_button.Color(0, 100, 0)); led_button.show(); delay(200); led_button.setPixelColor(0, led_button.Color(0, 0, 0)); led_button.show(); } } }
使用したのはLED付きボタンです。黒いのは電池ボックスです。
M5Stack用メカニカルキーボタンユニット — スイッチサイエンス

これでスレイブ側のボタンを押すとマスター側のLEDが点灯します。
関連記事
PCとESP-WROOM-32間でBluetooth接続をする場合はこちらです。touch-sp.hatenablog.com